I recently put together a hatchet for a friend. I picked one off the bay that looked good and had some real American history to it. It's WWII military hatchet. It ended up having the best pattern for a hatchet I have seen in my opinion. The geometry is just perfect. And yes I have owned and used a Gransfors Bruks wildlife hatchet. This is better. So here is the finished result of that hatchet I put together.
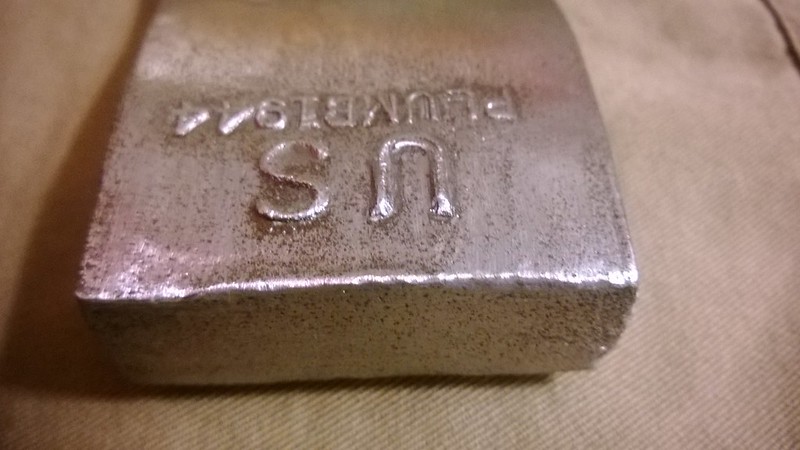
The cheeks stay thin from the bit to the head. It is very long for it's size and the transition is spot on. I was so pleased at how this hatchet turned out that I tasked myself with making another for myself. And as luck would have it I was able to find one exactly like this one. It even has the same 1944 year stamp on it. I thought it would be fun to post this project as I make progress on it. This head will require a little more work than usual. This head doesn't look used but it did have rust and some light pitting that I will need to remove to get it in top working order.
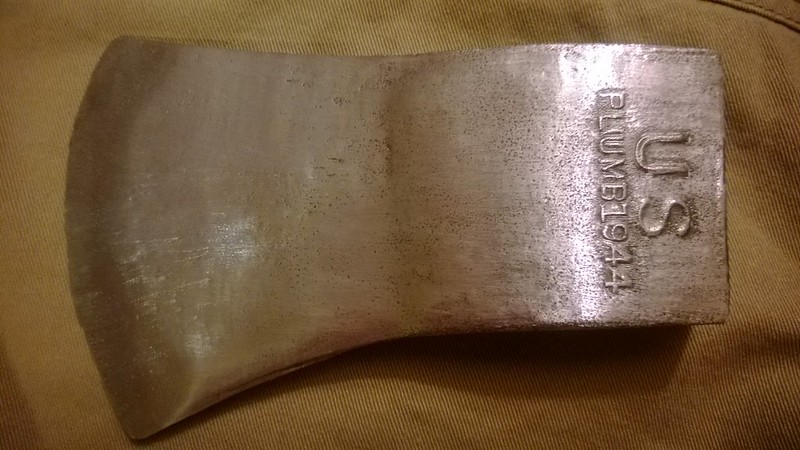
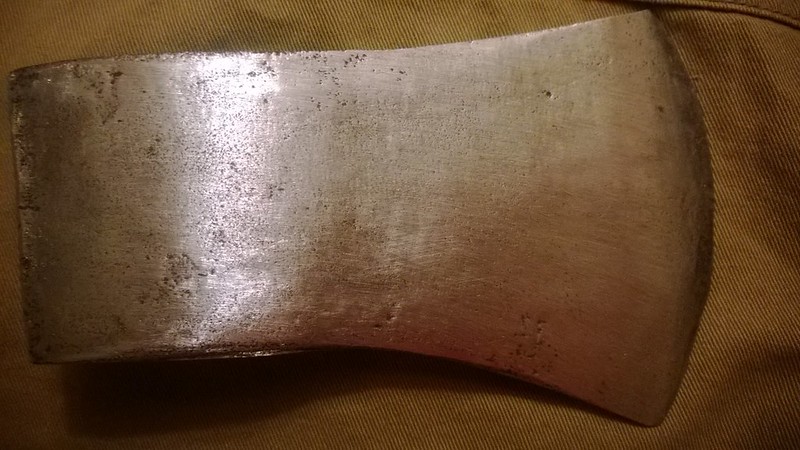
Here is how it came
the bottom eye was punched a little off center. This was obvious holding the hatchet as it had a tilt in the alignment. This will be easily correctable with a proper hang job. I did notice the previous handle had good grain after sawing it off.
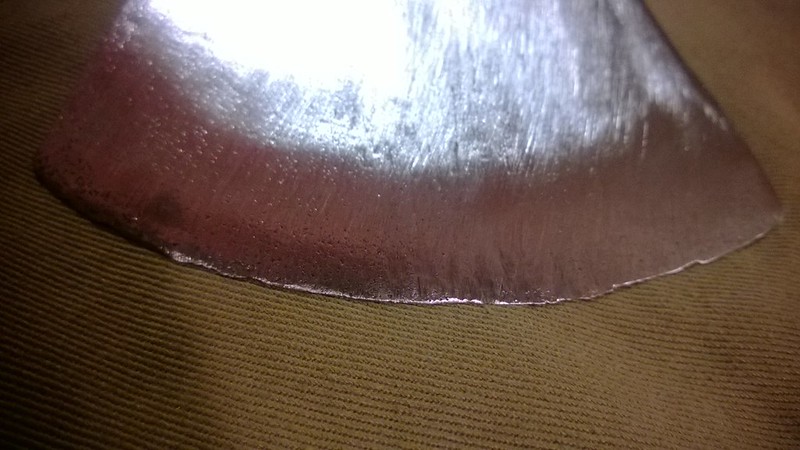
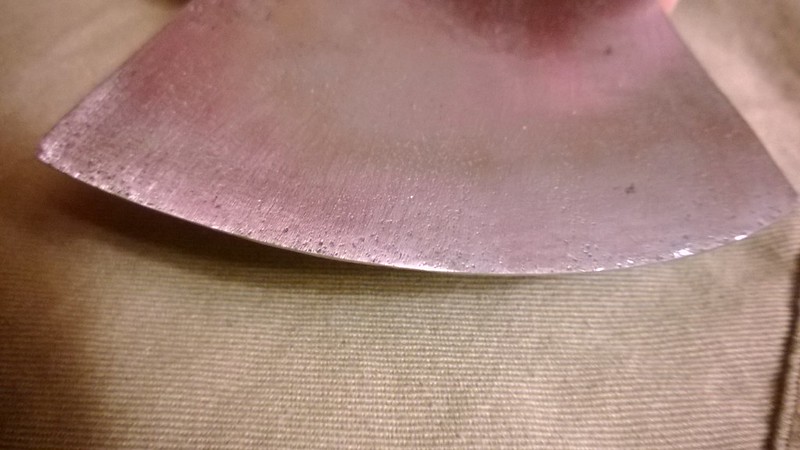
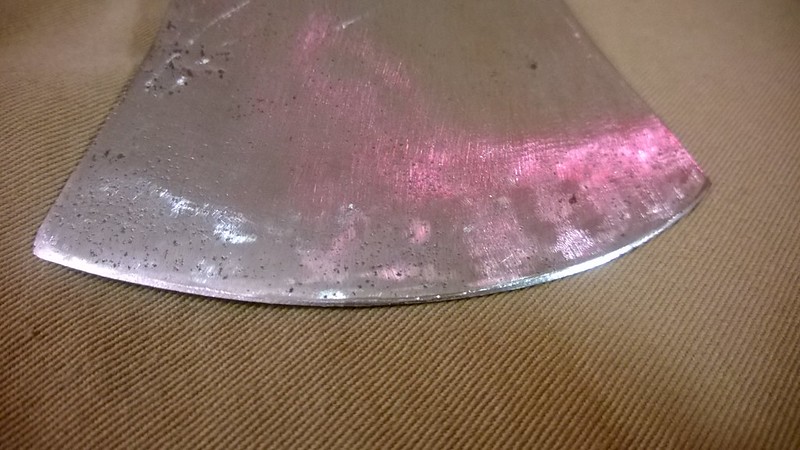
Well since the rust was pretty bad on this one I did a vinegar soak for a few days. Got most of it off. I then used a dremel tool with a grinding stone to try and remove the pitting. This was working but I will have to try something different to get the desired result I want. This last pic isn't the greatest as it was indoors and late. But here is the progress to this point and the handle I selected as well.
I will post updates on this hatchet as I go so check back. This will be a nice one when it's finished.
Thanks for looking