Monday, March 17, 2014

Jack's first hike and using the Plumb axe a little

Well I took the kiddos out for a hike and got to try out the axe I put together recently. Big sister(Bel) was really excited to take Jack out on his first hike. I didn't think she knew so much until she started showing and explaining things to Jack, LOL! I wonder where she got all that information...

Here we go, I picked an area with a nice defined trail so Jack wouldn't have to be tripping the whole time


We found an area with a lot of Pine trees and eventually found one with a lot of dead branches that I thought would have some fatwood.  Axe time!


No luck with those branches.  Kind of suprising.  Kids in the meantime were busy.  Jack is wondering what all the strange noises are:


Bel is working on her chopping technique


I eventually harvested a branch with some fatwood.  Success!


Moving on down the trail


Had a "Dad" fail when I realized Jack needs his own hat.  Not too sure how I feel about him wearing a pink one


We found another spot in the shade of the Pine trees and had a snack and a drink.  This is usually the kiddos favorite part. 


Here's two more gear shots.  Packs and a little knife practice.  There was a burn ban so no fire today unfortunately.


The view was nice.  After that we headed back out.  It was a great day out.  Jack took the woods pretty good.  He seemed to enjoy himself and Bel and I had fun too.  I can't wait to get em out again.


Thanks for looing


Monday, March 10, 2014

Making my IDEAL AXE!

Hey Folks, long time no see here.  New job and life has me busy.  Anyways, wanted to share a post about putting together my ideal axe.  This axe, while not my favorite(boys axe size), will be the one I carry most of the time.  My region doesn't need a 3/4 axe a lot of the time and my shorter day jaunts and hunts don't need an axe of that size.  This is on the smaller side of a half axe, or maybe the large side of a hatchet.  Either way you want to look at it, it will be very handy for use and packability for me. 
 
OAL:  18.25 inches
Head Weight: 1.75lb (Plumb Cedar Axe pattern)
Edge length:  3 7/8-4 inches
 
Here is the build process


thinning down the shoulder for a nice transition.


top of eye


bottom of eye, if you look closely you can see this eye was not punched straight on the bottom.  This is not a big deal to fit but it is different to get the edge straight with the handle, which is all that matter when when hanging an axe.


that's looking pretty good.


straight alignment even with the crooked eye.


After using this a little I decided the end of the handle needed a little shaping to make it better and I also added a little wood stain to highlight the grain lines for some quick character appeal.  Here is the final axe


thanks for looking

Monday, January 13, 2014

Time to hang an old Jersey Axe

Well I had acquired this old Council Tools Jersey axe head awhile back in a trade with a friend and it was finally time to get around to hanging it.  Size of this head is in the 3.5-4lb range.  I didn't weigh it.  Edge is almost 5.5 inches.

Here is how it started


I wanted to leave as much of the dark patina on as I could.  So I removed the paint and rust carefully with sandpaper, water and WD-40.  I ordered a 32" handle from House Handle and had requested handpicked axes (meaning good grain, straight shaping, no defects) and they delivered.  This handle was excellent as the other handle with the order.  I'll be using them in the future.  Well here's how the hand started.


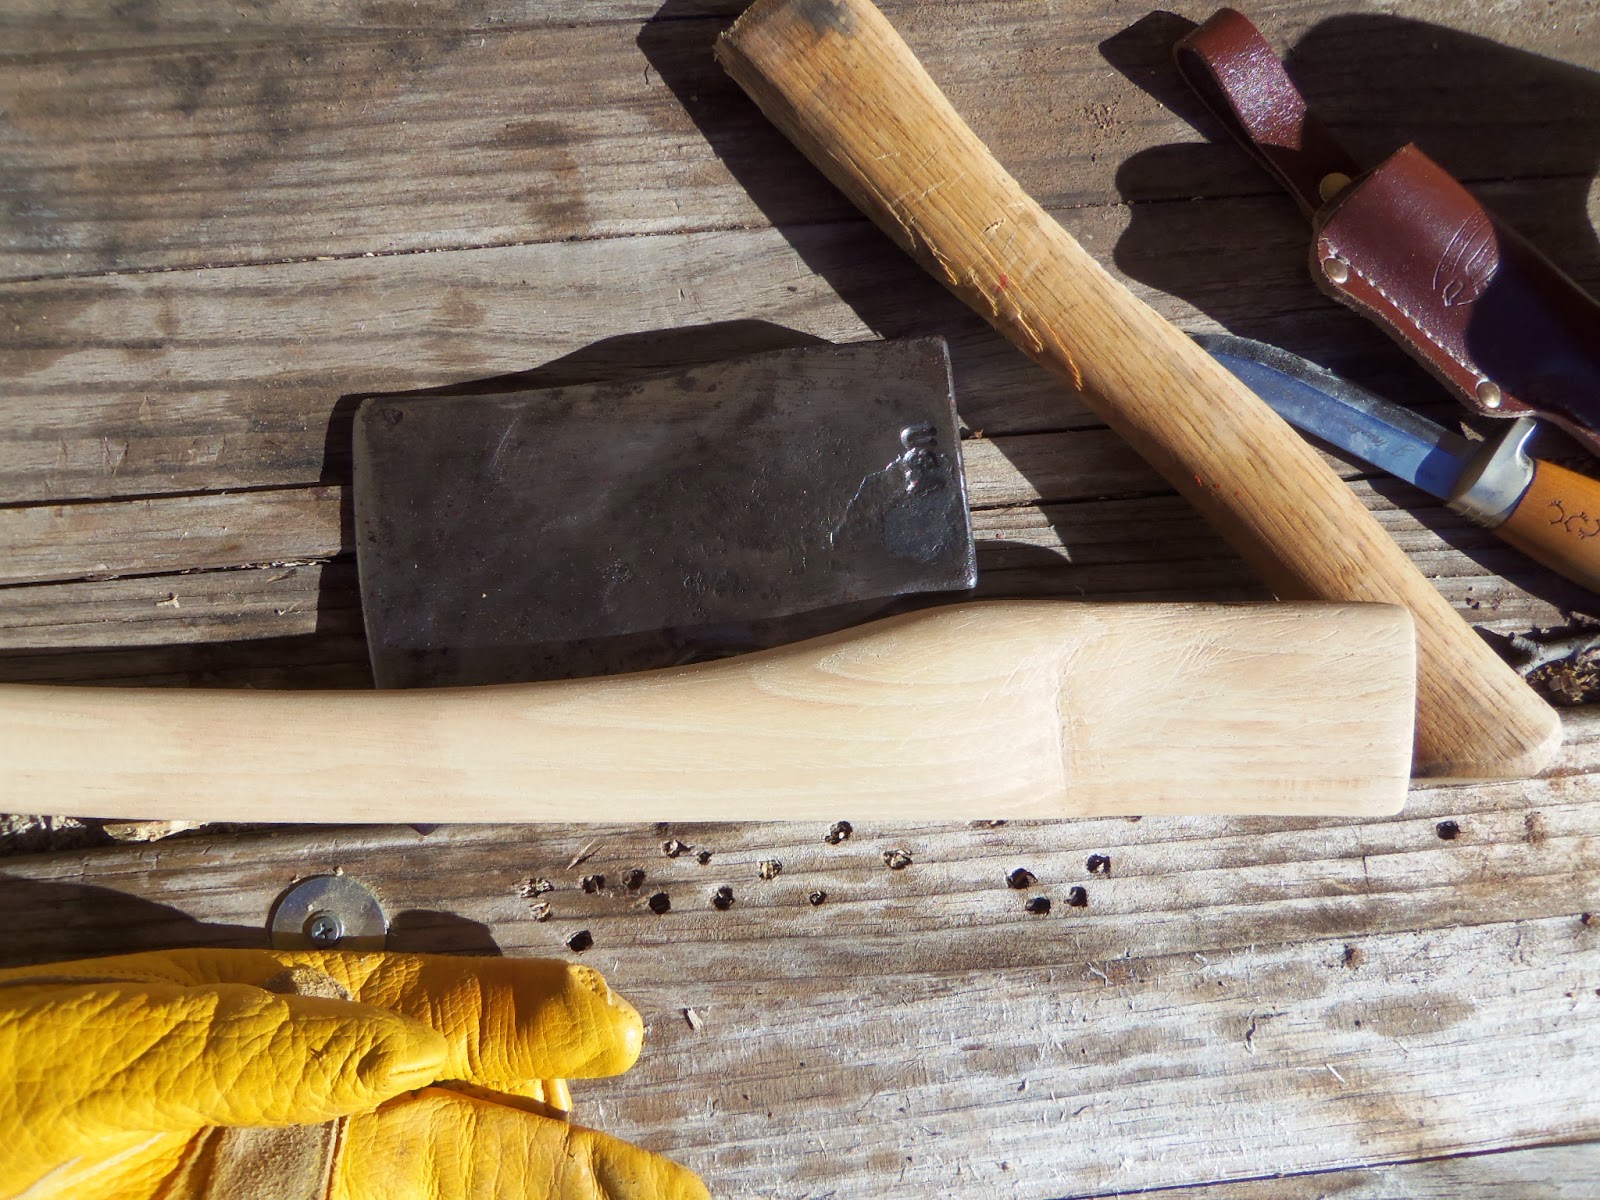
Starting out the head would not go on the handle at all.  Fitting was all done with hand tools consisting of a rasp, a knife, and sandpaper.  First was going to work with the rasp.


I always let the handle show you where to remove wood.  You can always take more off but you can't put it back on.  So I just work the thick spots down as needed. 


That's getting just about right.  At this point I like to use a knife to carefully remove the last bits of wood on the bottom.  Basically I make the tiniest curls I can.  Then I like to take the shoulder down so it's not sticking out a lot.  Once you have the place where the head will set you know whereabouts to stop removing wood. 


Final sanding where the head well set.


Just where I wanted it!


I heavily coated the wedge in boiled linseed oil before driving it home.


Here I had an unfortunate mishap.  The vice I use is a clamp vice and when I was using a jigsaw to cut off the excess the board the clamp was on came loose and the whole thing shifted so the cut when offline.  I cut the rest off from the other side but you can see the uneven edge it left.  Nothing that will effect function but still was a small bummer.


Now for oiling up the handle and we're done


Grain was great on this handle


Fit was pretty good.  The handle wasn't quite long enough to fill the eye but it's solid and I really don't expect any slippage


I like it!  It'll be one mean chopper.  I'll do an update as I get to use it some.

Thanks for looking